
Candle making can seem like a daunting task to beginners, but with the right materials and some patience, it can be a fun and rewarding experience. With this guide, you will learn the basics of candle making and get the tools you need to get started.
The Basics of Candle Making
Before you get started it is important to learn the basics of candle making. This includes understanding the different types of wax, choosing the right wick, melting the wax, and adding fragrance.
The most common types of wax used for candle making are soy, paraffin, and beeswax. Each type of wax has its own benefits and challenges, so it is important to understand the differences and use the right wax for the project.
When it comes to wicks, there are many different types available. It is important to choose the right one for the job. The size and type of wick depends on the size of the candle and the type of wax used.
The wax needs to be melted in a double boiler or melting pot. The temperature of the wax should be monitored with a thermometer to ensure it does not get too hot. Once the wax is melted, fragrance can be added and then poured into the containers.
With the right materials and some patience, candle making can be a rewarding experience. This guide provides an overview of what is needed to get started with candle making. With a bit of practice, anyone can learn the basics of candle making and make beautiful, personalized candles.
Choose Your Candle Making Materials
The first step to candle making is to gather the necessary materials. This includes wax, wicks, a thermometer, containers, and fragrance oils. Depending on the type of wax used, different materials may be needed. We have a complete list below.
When it comes to wax, it is important to get the right amount. Most candle recipes call for 8 ounces of wax per one pound of wax. This may vary slightly depending on the type of wax and fragrance used, so it is important to read the instructions carefully.
The wicks are also very important and should be chosen carefully. The size and type of wick will depend on the size of the candle and the type of wax used. For example, a larger wick is needed for soy wax than for paraffin wax.
Candle Making Materials:
To make candles at home, you will need the following materials:
- Wax (such as soy wax, beeswax, or paraffin wax)
- Candle wicks
- Candle fragrance oil (optional)
- Candle dye (optional)
- Container or mold for the candle (such as a mason jar, tin, or silicone mold)
- Double boiler or a heat-safe container and a pot
- Thermometer
- Stirring utensil (such as a wooden spoon or spatula)
- Glue dots or hot glue gun (if using a container)
- Scissors (if using a wick that needs to be trimmed)
Candle Making Instructions:
- Prepare your workspace: Cover your work surface with newspaper or a disposable tablecloth to protect it from wax spills. Gather all your materials and equipment.
- Prepare your container or mold: If you’re using a container, attach the wick to the bottom of the container using a glue dot or hot glue gun. Center the wick in the container and hold it in place until the glue dries. If you’re using a mold, attach the wick to the center of the mold using a wick holder or by tying it to a stick or pencil laid across the top of the mold.
- Melt the wax: Use a double boiler or a heat-safe container placed in a pot of simmering water to melt the wax. Stir the wax occasionally and use a thermometer to monitor the temperature. The melting temperature will depend on the type of wax you’re using.
- Add fragrance and dye (optional): If desired, add fragrance oil and dye to the melted wax. Stir well to distribute the color and scent evenly.
- Pour the wax: Carefully pour the melted wax into the container or mold. Leave a small gap at the top to allow for the wax to settle.
- Center the wick: If the wick has shifted during pouring, use a skewer or toothpick to gently adjust the wick to the center of the candle.
- Allow the candle to cool and set: Let the candle cool and solidify completely. This can take several hours, depending on the size of the candle and the type of wax.
- Trim the wick (if necessary): If the wick is too long, trim it to about 1/4 inch (0.6 cm) using scissors.
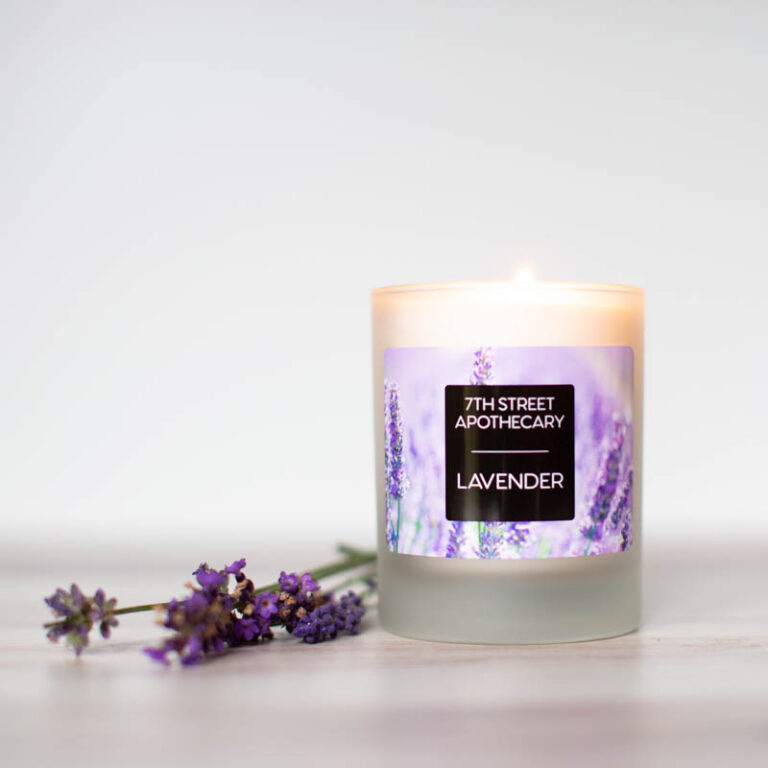
- Add a custom label: One of our custom labels for candles will help you personalize your candle and make it perfect for gift giving.
- Enjoy or gift your candle: Light your candle and enjoy the warm glow and beautiful fragrance, or let it warm the heart of a friend or family member.
Applying Custom Labels to Your Jar Candles
By following these tips, you can apply adhesive labels to your jar candles smoothly and securely, ensuring that your labels look great and stay in place.
- Clean the Surface: Make sure the surface of the jar is clean and free of dust, debris, or any oils or residue. Use a soft, lint-free cloth or paper towel and rubbing alcohol to clean the surface of the jar. Allow the surface to dry completely before applying the label.
- Apply the Label Carefully: Start by aligning the label with the jar and gently pressing it onto the surface, starting from one end and working your way to the other end. Use your fingers or a plastic card to smooth out any air bubbles or wrinkles in the label.
- Press and Hold: Once you’ve applied the label, press and hold it firmly in place for a few seconds to help the adhesive bond to the surface of the jar. If necessary, you can use a heat source to gently warm the label and help it adhere more securely to the jar.


Candle Making Tips for Beginners
- Start with a simple project: For your first candle making project, choose a simple container candle with a single color and scent.
- Use a thermometer: It’s important to monitor the temperature of the wax to ensure it doesn’t overheat or cool too quickly.
- Choose the right wax: There are many different types of wax available, so choose one that suits your preferences and skill level. For beginners, soy wax and paraffin wax are the most commonly used types of wax due to their affordability, availability, and ease of use.
- Experiment with fragrance and color: Adding fragrance and color can enhance the beauty and scent of your candles. Try different combinations to find what you like.
- Be patient: Candle making requires patience and attention to detail. Take your time and enjoy the process.